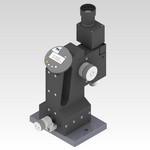
Among our small devices are the Rod Microscopes SM, the Portable Microscopes MS1 and TM2, the Centring Mikroscopes ZM1 and the Alignment Tester FLZ for machine bearing alignment (straightness measurement).
All devices are manufactured and assembled in-house as a high valuable product "Made in Germany".
Upon request, custom solutions are possible anytime.
Measuring Microscope TM2
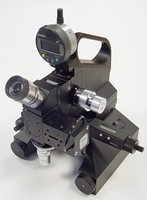 The portable measuring microscope TM2 is used to measure structues on rollers and flat or cylindric products with 3 digital axes (X/Y/Z) - self contained with integrated batteries.
• solid v-block base for stable attachment
• rubber coated surface protects the product against scratches and damage
• eyepiece with diopter compensation and crosshair with concentric circles
• coaxial coarse / fine movement for focussing
| Magnifications | Fields of view | Measurement range | Resolution |
| 75x to 200x | 2.6 mm to 0.35 mm | X/Y 25 mm Z 12 mm |
1 µm |
Alignment Tester FLZ
 |
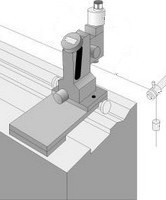 application setup |
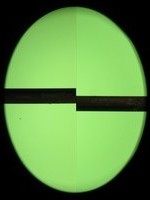 split-image eyepiece |
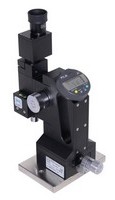
Portable measurement microscope for the alignment of machine bearings.
The measuring wire ist fastened to the headstock or a special holding device, fed at the end of the base over a pulley and stretched tight with a weight (layout according to DIN 8606).
The alignment tester must be placed on the carriage of the machine or a corresponding device, which can be moved in a longitudinal direction in predefined steps on the machine base. The measuring wire must be aligned in such a way that the same values are measured in the starting and end position of the carriage, i.e. that it is tensioned to form an imaginary connecting line parallel to these positions. When the wire is aligned to the bearing, the value display is set to zero.
The straightness deviation can now be read directly on the display for each position when both parts of the image are fitted together by moving the microscope horizontally with the integrated micrometer spindle.
| Magnification | Field of view | Measurement range | Resolution |
| ≈ 44x | 3 mm | 10 mm | 1 µm |
Machine Centring Microscope MZM
 |
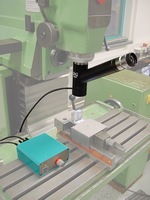 |
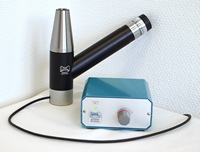
Universal centring microscope to set up tool machines (for example milling or drilling machines).
The edges of a workpiece can be positioned, rotary stages can be centered or machine spindles can be aligned. The centring microscope is fixed in the machine instead of the tool.
• the image is true erect and with high contrast
• the eyepiece has a graticule with crosshair and concentric circles
• LEDs are used for the incident light
• 5 µm centring accuracy can be achieved
• DIN 2080-A 40 (short taper) standard fixture
• different fixtures and draw bolt upon request
| Magnification | Field of view | Measurement range | Resolution |
| 30x | 5 mm | - | - |


